

Are you tired of smoke and smells lingering in your kitchen after cooking? A range hood can make a big difference. Whether you’re a home chef or just love keeping your kitchen fresh, installing a range hood is one of the best upgrades you can make. And the good news is, you don’t always need to hire a professional.
In this guide, we’ll walk you through how to install a range hood step by step, using simple language and tips that are easy to follow. If you want a quick kitchen makeover, keep reading.
Why You Need a Range Hood in Your Kitchen
Before jumping into the installation, let’s talk about why a kitchen hood is so important. A range hood, also called a kitchen chimney or exhaust fan for kitchen, helps remove heat, smoke, grease, and cooking odors from your kitchen. It also improves air quality by ventilating steam and harmful particles.
If you’re living in a busy city like Lahore, where houses are closely packed and ventilation can be tricky, a properly installed range hood is a must for maintaining a clean kitchen atmosphere.
Choosing the Right Range Hood for Your Kitchen
There are two main types of range hoods you can install:
- Wall-mounted range hoods
- Under-cabinet hoods
Another important decision is between ducted vs ductless hoods. Ducted hoods push air outside through a vent, while ductless ones filter and recirculate air.
Make sure to take proper range hood measurements before you start. Measure the width of your stove and the distance from the cooking surface to the spot where the hood will go. Most models fit standard stove sizes, but double-checking helps avoid any surprises later.
Tools You’ll Need for Range Hood Installation
You don’t need a workshop full of tools. Here’s a simple list:
- Measuring tape
- Drill and bits
- Screwdriver
- Ducting kit (for vented hoods)
- Screws and wall anchors
- Electrical tester
- Duct tape
Step-by-Step Range Hood Install – DIY Style
Installing a kitchen hood isn’t rocket science. Just take your time, follow each step carefully, and stay safe.
Step 1: Turn Off the Power
Safety first. Head over to your breaker box and turn off the electricity for the kitchen. Use an electrical tester to make sure the wires are not live.
Step 2: Mark Your Mounting Spot
Hold the range hood up where you want it to go. Use a pencil to mark the screw holes. Make sure it’s cantered over your stove and not too high or too low.
This is also where proper kitchen hood installation process comes in handy. Follow the manufacturer’s manual for height requirements.
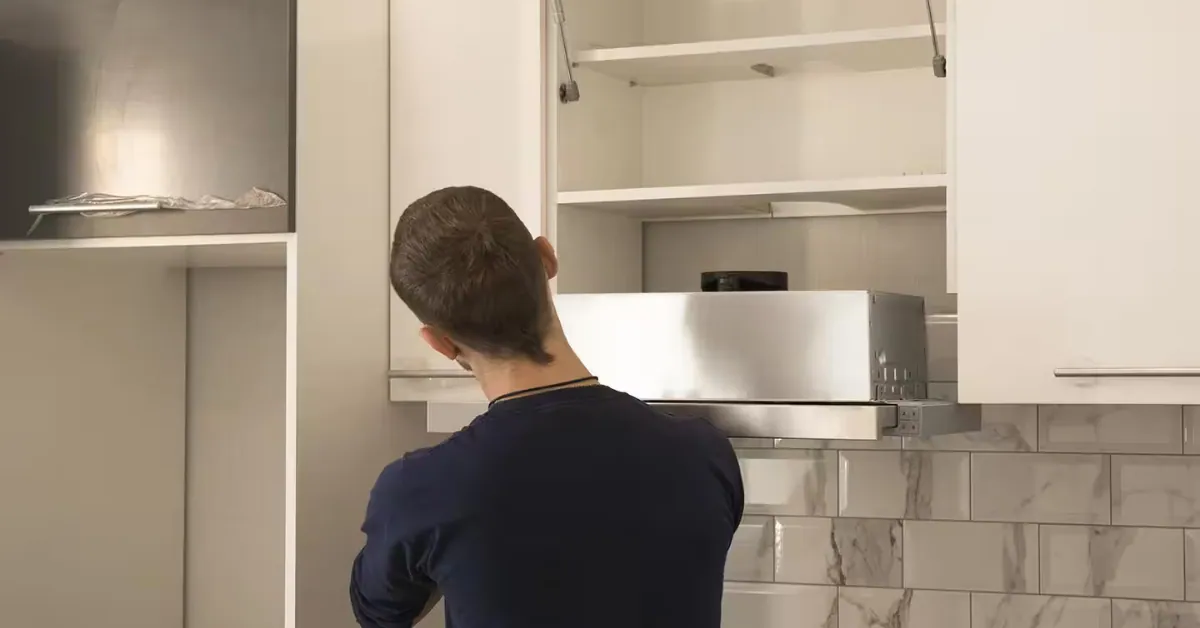
Step 3: Drill and Mount
Drill the holes and insert wall anchors. Mount the hood by securing screws tightly. If you’re installing a wall-mounted range hood, make sure it’s firmly attached to studs or strong drywall. If you’re doing an under-cabinet installation, use the bracket method to hold it securely in place.
Step 4: Ventilation Setup (For Ducted Hoods)
This is the part where people usually feel nervous, but it’s doable. Use a ducting kit to run the air duct through the wall or ceiling. Seal everything with duct tape to prevent leaks.
If you’re not ready to cut through walls, a ductless hood may be a better option for your DIY range hood setup.
Step 5: Connect the Wiring
Carefully connect the wiring as per instructions. Usually, you’ll match black to black, white to white, and ground to ground. If you’re unsure, it’s always okay to call an electrician for this part. Range hood wiring is the most technical step, so take your time here.
Step 6: Test and Finish
Once everything is in place, turn the power back on and test the hood. Check fan speeds, lights, and suction power. If everything is working well, congrats—you did it!
Common Mistakes to Avoid
Installing a range hood isn’t hard, but small mistakes can cost time and money. Here are a few tips:
- Don’t skip the measurements.
- Always check power before wiring.
- Use the right duct size.
- Don’t block air vents.
And of course, don’t forget to read the full range hood installation guide that comes with your appliance.
Need Help in Lahore? Subhan Electronics Has You Covered
If you’re not comfortable doing it yourself, no worries. Subhan Electronics offers expert range hood installation services in Lahore at affordable prices. Our trained team ensures everything is fitted perfectly and safely. Visit us at electro home for the latest models in kitchen hoods and other home improvement kitchen appliances.
Conclusion
Installing a range hood might seem like a big task, but once you get started, it’s surprisingly simple. Whether you’re planning a full kitchen makeover or just looking to reduce cooking smells, knowing how to install a range hood is a handy skill. And if you ever need guidance or top-quality kitchen hoods, remember Electro Home is always here to help our customers.
Visit our store or call us today to explore your options. Let’s upgrade your kitchen together!
FAQs About Range Hood Installation
Can I Install A Range Hood Myself?
Yes, many homeowners choose DIY installation. Just follow safety guidelines and the step-by-step process above.
Are Range Hoods Difficult To Install?
Not really. If you can use basic tools and follow instructions, it’s manageable.
Do I Need An Electrician To Install A Range Hood?
If you’re unsure about wiring, it’s better to hire a certified electrician.
How Are Range Hoods Mounted?
Range hoods are either wall-mounted or installed under cabinets using brackets or screws.
How To Install A Range Hood Vent Through The Wall?
Use a ducting kit, cut an opening through the wall, run the duct, and seal it properly.
How To Install A Range Hood Vent Through The Ceiling?
Run a vertical duct from the hood up through the ceiling, then out through the roof or attic vent.
How To Install A Range Hood Under Cabinet?
Secure the hood to the cabinet base using screws and brackets. Wire and vent as needed.
Range Hood Installation Cost In Lahore?
Costs vary, but typically range between Rs. 3,000 to Rs. 7,000 depending on the complexity.
How To Install A Range Hood Without Vent?
Choose a ductless model with filters. Mount it like a regular hood but skip the venting step.
How To Replace A Range Hood?
Remove the old one by unscrewing and disconnecting wires and duct. Install the new one following the steps above.
